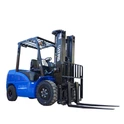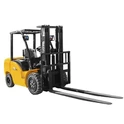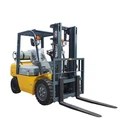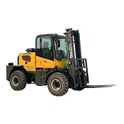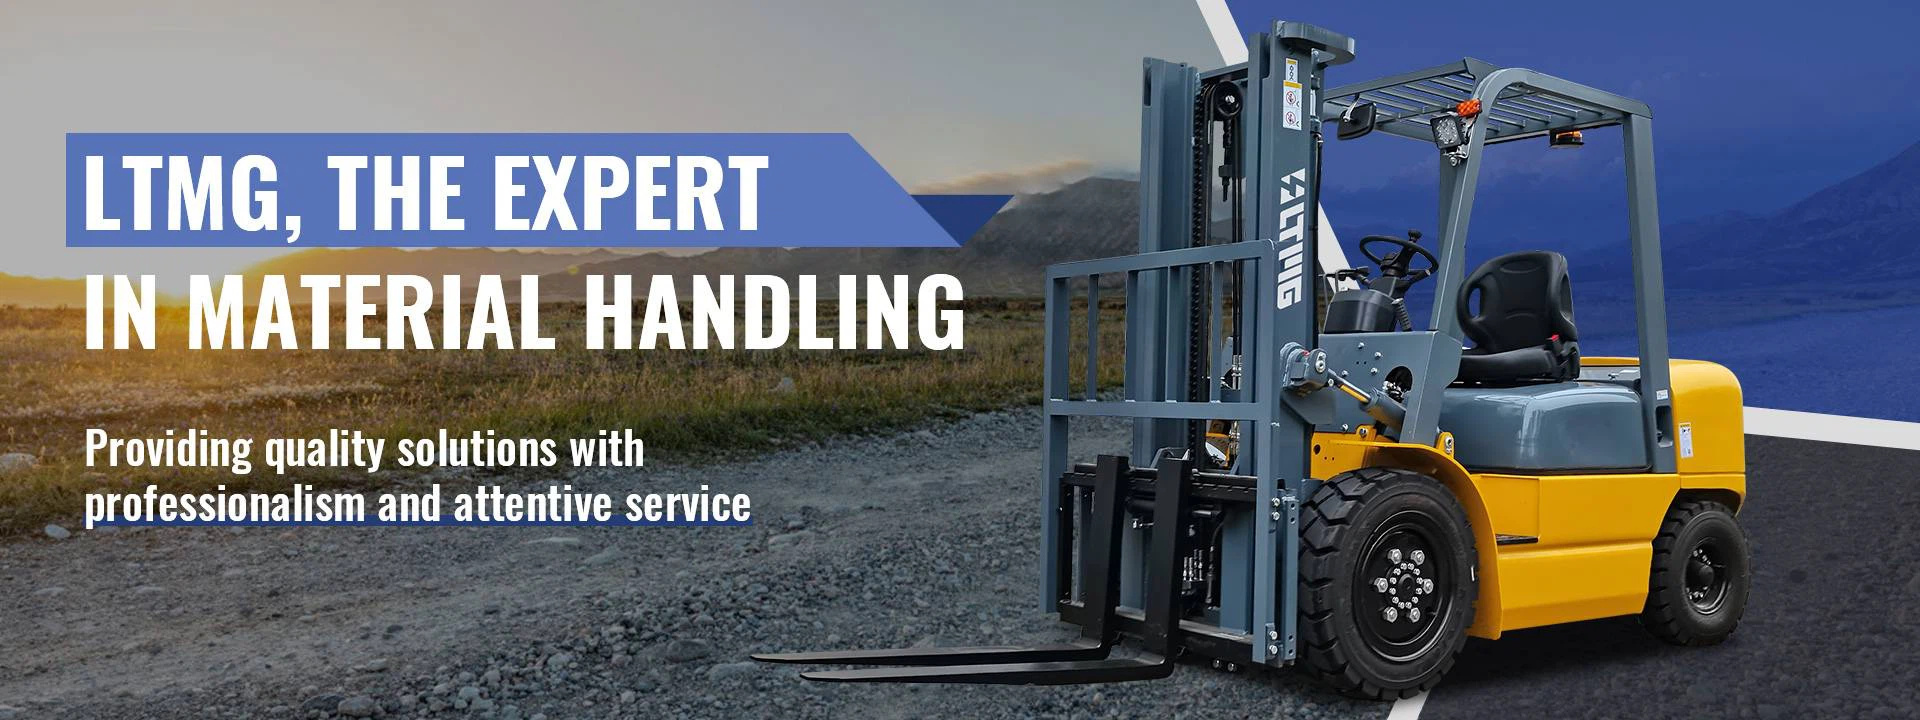
As the unsung heroes of independent warehouses, forklifts carry out strenuous lifting tasks. Hydraulic oil is the very lifeblood that powers these powerful arms for precise and powerful lifting. However, many operators often overlook its importance, only realizing their mistake when their forklifts experience sluggishness, inability to lift, or even a harsh noise. Aging and contamination of hydraulic oil not only severely impact operational efficiency but can also permanently damage core components like pumps and valves, leading to repair bills running into the thousands or even tens of thousands of yuan. This article provides an ultimate guide, from determining when to change hydraulic oil to detailed steps, to help you easily master this crucial preventative maintenance skill.

The Change Light Is On: When Should You Change Hydraulic Oil?
| Usage Intensity | Recommended Change Interval (Operating Hours) | Approximate Equivalent (Based on an 8-hour workday) |
| Standard Use (Single shift, indoor environment) | 2000 hours | Approx. 12 months |
| Heavy Use (Multi-shift, frequent full-load lifting) | 800 - 1200 hours | Approx. 4 - 6 months |
| Severe Conditions (Dusty, high-humidity, or large temperature variation) | 600 - 800 hours | Approx. 3 - 4 months |
| Time Limit (Regardless of usage frequency) | / | Maximum of 24 months |
Five Warning Signs for Immediate Replacement:
- Observe the Color and Smell: Normal hydraulic oil is clear and transparent (usually light yellow). If it turns dark brown, milky white (emulsified by water), or black, and has a burning odor, it indicates severe oxidation or contamination.
- Check for impurities: Use a clean cloth or paper towel to smear a small amount of oil. If you see shiny metal particles or black carbon deposits, this indicates abnormal wear within the hydraulic system.
- Listen: A sharp whistling or buzzing sound during operation is usually caused by air entering the oil or poor lubrication in the oil pump.
- Feel the movement: There is noticeable lag, jitter, or weakness when raising or lowering the forks or tilting the mast, and the response is not as good as before.
- Touch the temperature: If the hydraulic oil tank becomes abnormally hot under normal operating conditions, exceeding normal temperatures, this indicates that the oil's cooling and lubricating properties have significantly degraded.

Preparation: Professionalism and safety are essential
Required Tools and Materials:
- Appropriate hydraulic oil: Critical! Always consult the forklift manual or the vehicle dataplate. The most common hydraulic oils are ISO VG46 or VG32 anti-wear hydraulic oil. Different brands and models have different additive formulas; mixing is strictly prohibited!
- Original or high-quality hydraulic oil filter: The filter is a secondary defense, and filtration accuracy is crucial. Don't skimp on this.
- Sufficient waste oil container: Forklifts typically hold 15-25 liters of hydraulic oil; prepare a container of at least 30 liters.
- Torque wrench: Used to precisely tighten the drain bolt and filter cap to prevent leaks and thread damage.
- Other supplies: A set of ring-end/box-end wrenches, a funnel, plenty of clean, lint-free cloths, protective gloves, and goggles.
Site and Vehicle Preparation:
- Park the forklift on a firm, level surface to prevent it from rolling.
- Turn off the engine, remove the key, and allow the vehicle to cool fully (at least 30-60 minutes) to prevent burns.
- Fully lower the forks to the ground and tilt the mast forward to allow as much oil as possible in the hydraulic cylinder to drain back into the tank.
- Lay cardboard or an impermeable mat under the work area to keep the floor clean.
Detailed Explanation of the Four-Step Replacement Method
Step 1: Completely Drain the Exhaust Oil
- Locate the Drain Bolt: This is usually located at the lowest point of the hydraulic oil tank. Wipe the bolt and the surrounding area with a clean cloth to prevent dust from entering.
- Drain the Exhaust Oil: Position a waste oil bucket under the bolt and slowly loosen it counterclockwise using a suitable wrench. Be aware that the initial flow of oil may be rapid.
- Drain the Residual Oil from the Lines: When the exhaust oil has mostly drained, gently operate the lift and tilt handles several times (if it is safe to do so and the engine is not running) to allow gravity to force out any remaining oil from the cylinder and lines.
- Clean the Bolts: After the oil has completely drained, wipe the Drain Bolt and its threads with a clean cloth. Check for metal chips adsorbed on the magnetic bolt (if present) and clean them thoroughly.
Step 2: Replace the "kidney"-the hydraulic filter element
- Locate the filter element: The hydraulic filter element is typically located in a cylindrical housing on the top or side of the tank.
- Remove the old element: Clean the outside of the filter cover and remove it with a tool. When removing the old filter element, be mindful of any residual oil inside.
- Cleaning the filter seat: Thoroughly wipe the inside of the filter seat with a lint-free cloth to ensure there are no remaining impurities. This is the most overlooked, yet crucial step!
- Install the new element: Apply a thin film of new hydraulic oil to the rubber seal of the new filter element to aid sealing and installation. Place the new filter element vertically to ensure it is properly seated.
- Tighten it back into place: Replace the filter cover and tighten it to the manufacturer's specified torque using a torque wrench.

Step 3: Carefully Add New Oil
- Tighten the Oil Drain Bolt: Reinstall the cleaned oil drain bolt and tighten it with a torque wrench.
- Clean the Filler Neck: Thoroughly clean the hydraulic oil tank filler neck and cap to prevent any contaminants from entering.
- Add Oil Slowly: Using a clean funnel, slowly add the prepared new hydraulic oil. Closely monitor the oil level gauge or dipstick on the side of the tank.
- Control the Oil Level: Fill to 80%-90% of the gauge mark, or the "centerline." Never fill the tank to the top, as the oil expands due to heat during operation.
Step 4: Bleed the System and Perform a Final Inspection
- Start and Idle: After ensuring all bolts and caps are tightened, start the forklift and allow the engine to idle for 3-5 minutes.
- Bleed the System Cycle: Slowly raise and lower the forks to their highest and lowest positions, and tilt the mast forward and backward to its lowest positions. Repeat this complete cycle 3-5 times. This pumps new oil into all lines and hydraulic cylinders and removes any remaining air from the system.
- Check the oil level: After bleeding, turn off the engine and check the oil level again. The oil level will drop, so add new oil to the mark.
- Check for leaks: Carefully inspect the drain plug, filter cap, and all pipe joints for signs of leaks.
Common Mistakes and Professional Advice
- Biggest Mistake: Mixing different oils. This can cause chemical reactions, resulting in sludge and system blockage.
- Critical Oversight: Not Changing the Filter. This is like pumping clean blood into a failing kidney; the new oil will quickly become contaminated.
- Safety Hazard: Changing the Oil with a Hot Engine. Hot hydraulic oil not only poses a burn risk but also causes metal parts to expand, affecting tightening torque.
- Source of Contamination: Dirty oil filler ports. Even tiny dust particles can cause fatal wear and tear on delicate hydraulic valves.
- Waste Oil Disposal: Never dump waste! Waste hydraulic oil is considered hazardous waste and must be professionally disposed of by a qualified recycling company. This demonstrates corporate environmental responsibility.
Conclusion
Regularly and correctly changing your forklift's hydraulic oil is the most direct and effective investment in your valuable asset. It's more than just a maintenance task; it's the cornerstone of ensuring the stable, efficient, and safe operation of your independent station's back-end logistics chain. Rather than passively waiting for a breakdown to occur, it's better to be proactive and take control of your maintenance schedule. With this guide, we hope you can confidently complete this task and keep your forklift partners in peak condition.